
Beginner easy face painting ideas for cheeks are so in demand as they’re quick to apply, have little room for error, and have a big impact even with very basic tools. Cheek designs do not require as much symmetry as full face work, use less paint, and beginner artists can practice the elements of design, such as line work, teardrops, and swirls, while giving it their own unique spin. This makes them the perfect choice for first-time painters, party cross-dressing, and parents looking to impress their kids with easy face art.
This guide goes deeper than simple idea lists. You will learn which designs work best on cheek space, how to structure each design for clean results, how to choose shapes that forgive small errors, and how to apply color efficiently. Each idea is explained with design logic and execution detail so you understand why it works — not just how to copy it.
Why Cheek Designs Are Ideal for Beginners
Cheek face painting works when the artwork meets three conditions: a small canvas, round flesh, and is fast to draw. Easy face painting cheek ideas for beginners take advantage of simple forms, curved lines,s and different colour combinations in layered blocks rather than line art.
Cheek designs are beginner-friendly because they:
- Use small brush movements instead of long strokes
- Do not require perfect left-right symmetry
- Allow fast correction if a line goes wrong
- Work with stencil-like shape logic
- Can be completed in two to four minutes
Designs that succeed on cheeks typically use circular forms, arcs, dots, petals, wings, or icons rather than complex characters.
Tools and Paint Control That Improve Results
Before choosing beginner easy face painting ideas for cheeks, understand the tool behavior. Better tool control produces cleaner results than more artistic skill.
Use water-activated, skin-safe face paints. Paint should be thick, not thin. Over-wet paint causes bleeding edges. Under-wet paint causes dragging and streaks.
Brush roles matter:
- Round brush: outlines, petals, dots
- Flat brush: small fills and blocks
- Sponge edge: soft gradients and clouds
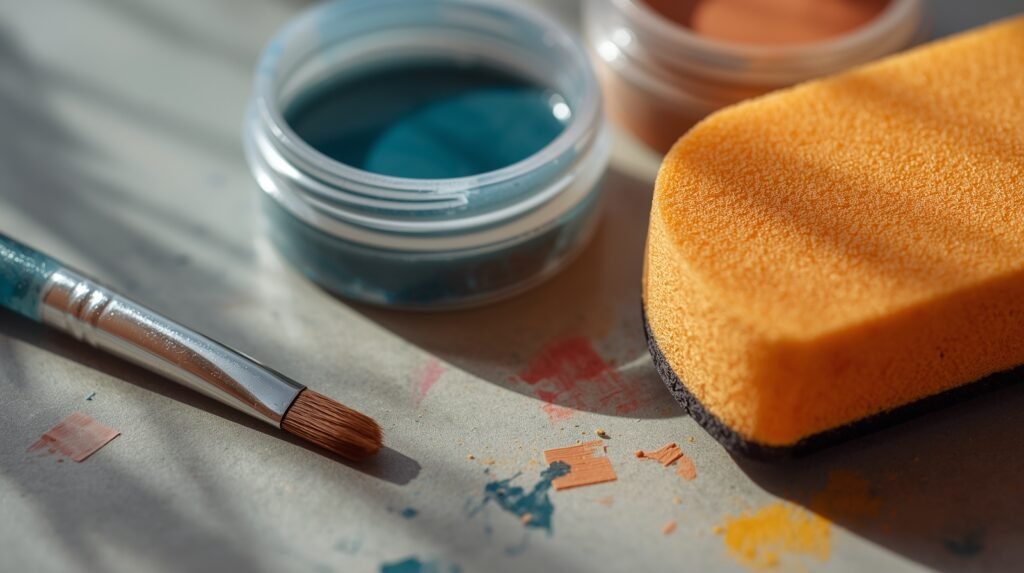
Paint loading method matters more than brush size. Dip the brush into the paint, twist it, and then roll a point on your palette’s edge. That creates controlled tips for cheek designs.
Design Structure Principles for Cheek Painting
Strong beginner easy face painting ideas for cheeks follow a simple structure formula:
Base shape → Color fill → Outline → Accent dots
This layered method keeps designs readable from a distance and prevents muddy color overlap. Outlines are optional for soft themes but helpful for clarity.
Placement rule: Position the design slightly forward on the cheek apple rather than near the ear. Forward placement keeps the design visible in photos and avoids distortion from jaw movement.
12 Beginner Easy Face Painting Ideas for Cheeks with Execution Detail
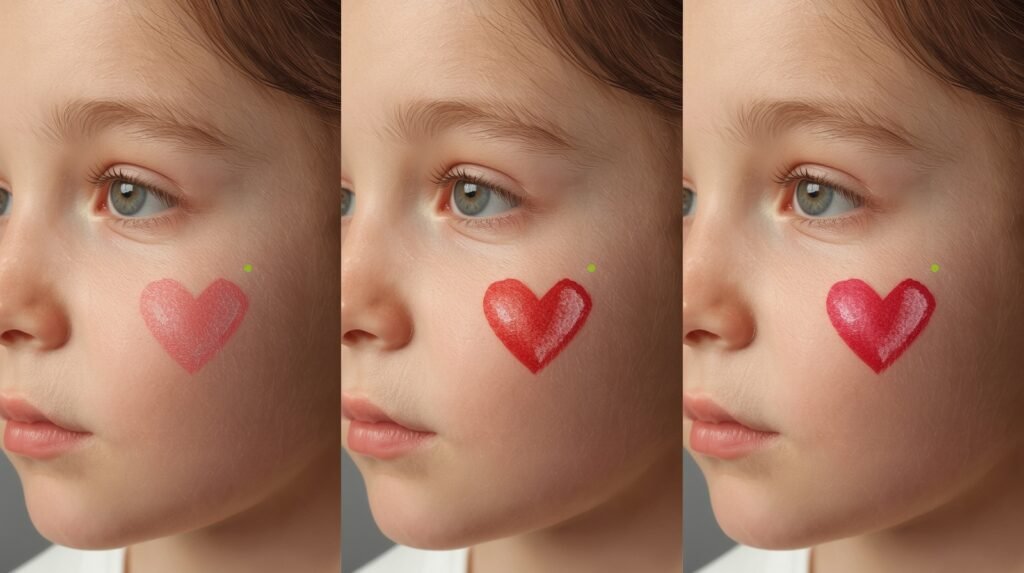
1. Heart Accent Design
The heart works because it is built from two curves and a point — forgiving shapes for beginners. Start with a rounded “V” motion instead of drawing two circles. Fill from the edge inward to keep borders sharp. Add a small white highlight dot to simulate shine.
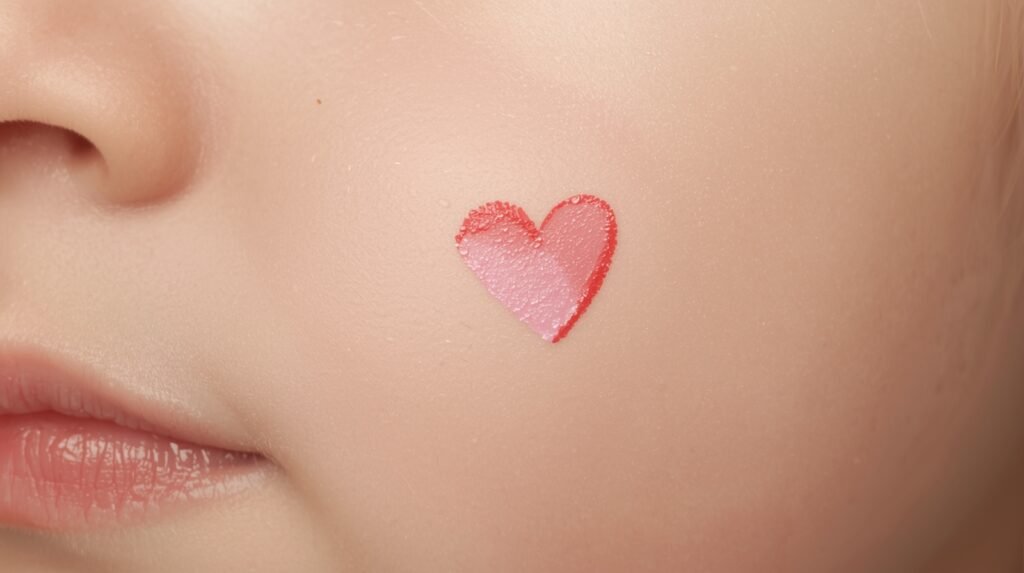
This design teaches curve control and edge discipline.
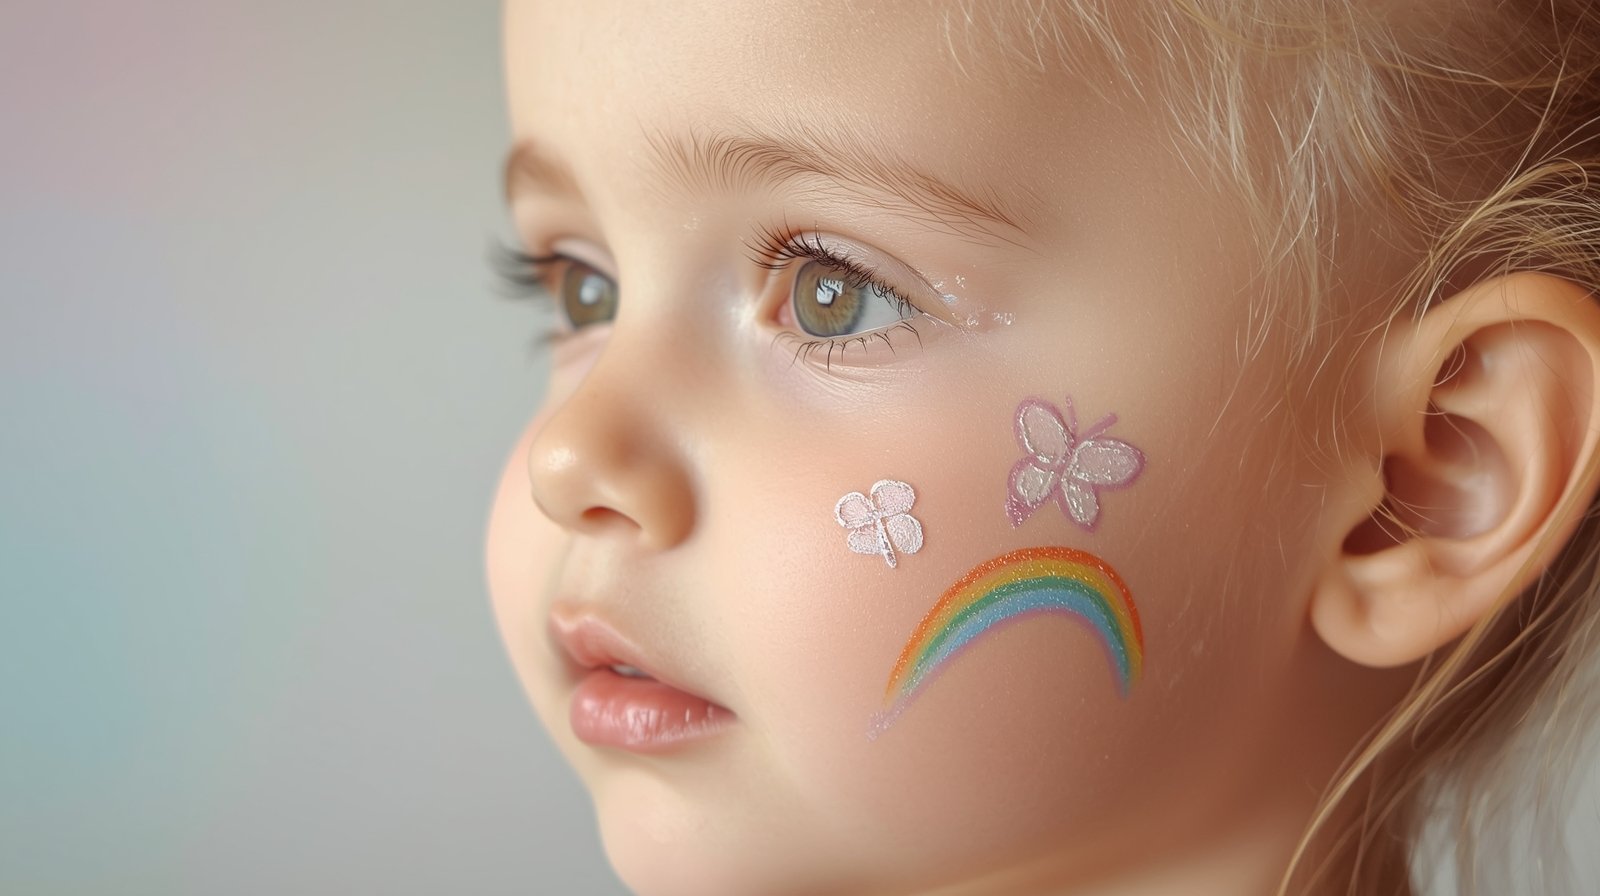
2. Rainbow Arc Band
A cheek rainbow should use three to five stripes, not full-spectrum bands. Too many colors crowd a small space. Paint arcs in one continuous wrist motion. Do not stop between stripes, reload the brush, and continue the curve to maintain flow.
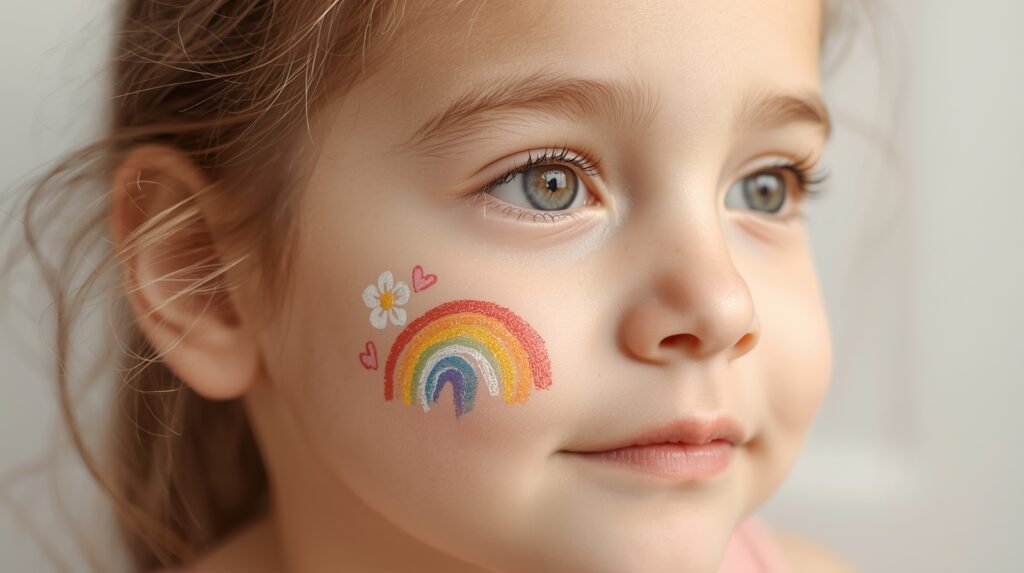
Cloud dots at the ends hide uneven arc starts and stops.
3. Five-Petal Flower Cluster
Flowers are reliable beginner easy face painting ideas for cheeks because petals hide small shape variations. Use press-and-lift brush motion for each petal instead of drawing outlines. Place petals first, then add center dots after the paint dries slightly.
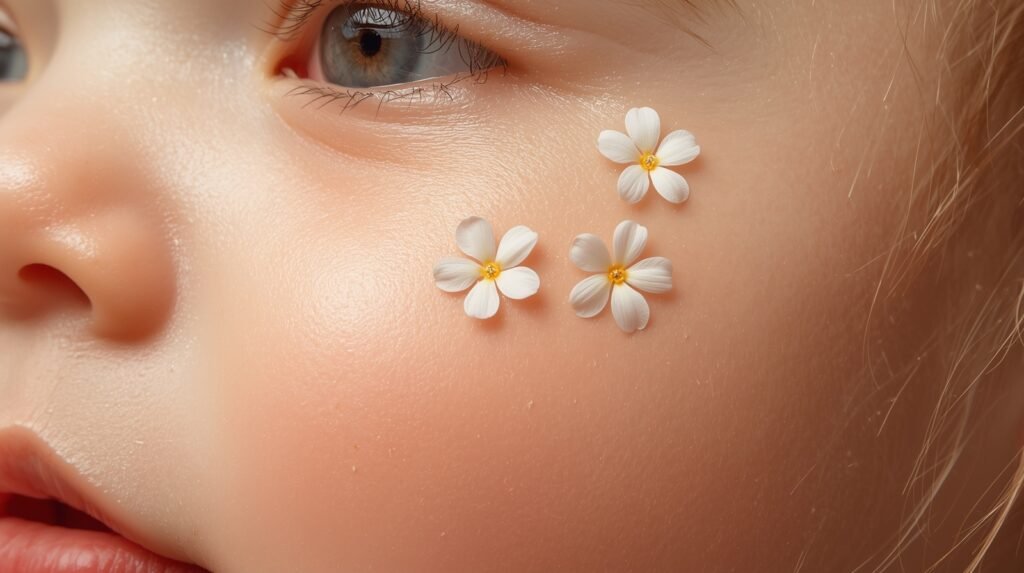
Multiple small flowers often look better than one large flower on the cheeks.
4. Butterfly Mini Wing
Cheek butterflies should be treated as a wing symbol, not a full butterfly drawing. Paint two teardrop wing shapes touching at one end. Add thin antenna lines last, using minimal paint load.
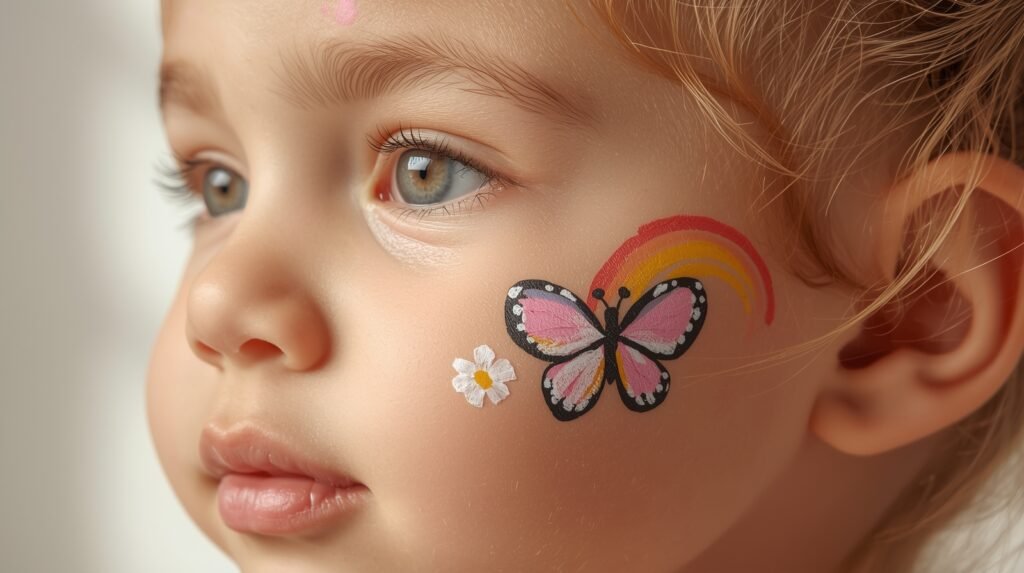
Gradient fills work well here, lighter inside, darker edge.
5. Star Burst Pattern
Crossing strokes instead of a star outline. Paint a vertical and horizontal line, followed by two diagonals. This method produces cleaner stars with fewer corrections.
Add micro dots around the star for a sparkle effect.
6. Paw Print Trail
A paw print uses one oval pad and three or four toe dots. Use a round brush tip and stamp rather than drag. Trails of two or three prints add motion and look more intentional than one isolated print.
Angle the trail upward for dynamic placement.
7. Sun Symbol with Rays
Cheek suns should use short rays, not long spikes. Paint a circle, then press short strokes outward. Keep rays uneven in length. Uniform rays look artificial at a small scale.
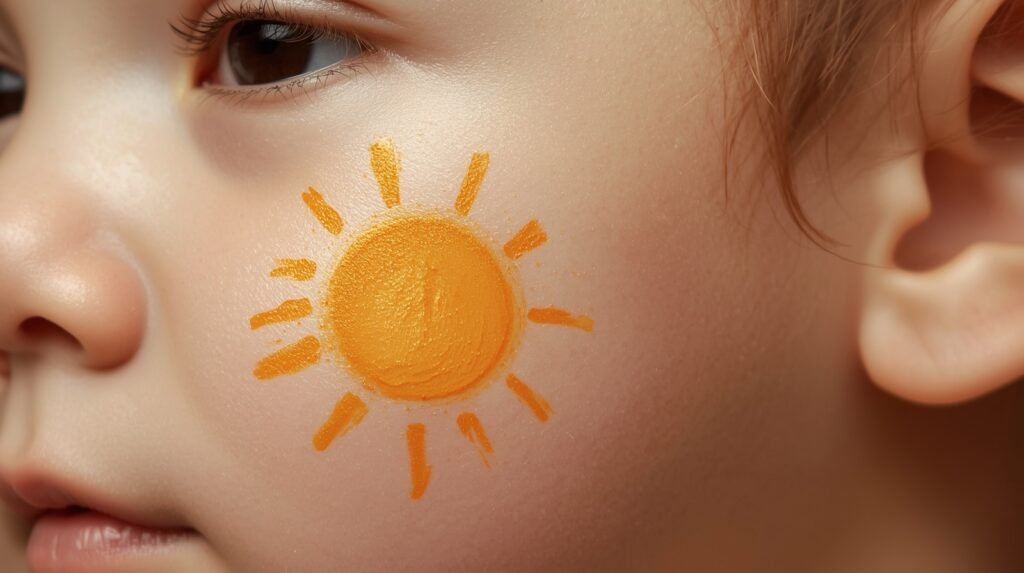
Warm color layering (yellow base, orange edge) improves depth.
8. Crescent Moon Icon
Moons are created by painting a circle, then overlaying a second circle in skin color to subtract the shape. This produces smoother crescents than trying to outline one directly.
Add two micro stars nearby to balance the composition.
9. Crown Badge
A crown works when simplified into three triangular points on a curved base. Avoid jewel detail lines; use colored dots instead. Dot accents are faster and cleaner on cheek surfaces.
Metallic or glitter accents enhance visibility.
10. Bee Mini Character
A bee should be treated as an oval icon, not a cartoon character. Paint a yellow oval, add two black stripes, then two wing loops. Keep facial features optional and minimal.
Compact icons shine brighter than detailed figures at cheek size.
11. Balloon Cluster
Three overlapping circles with small string lines create a balloon cluster effect. Overlap is important; it adds depth and hides imperfect circle edges.
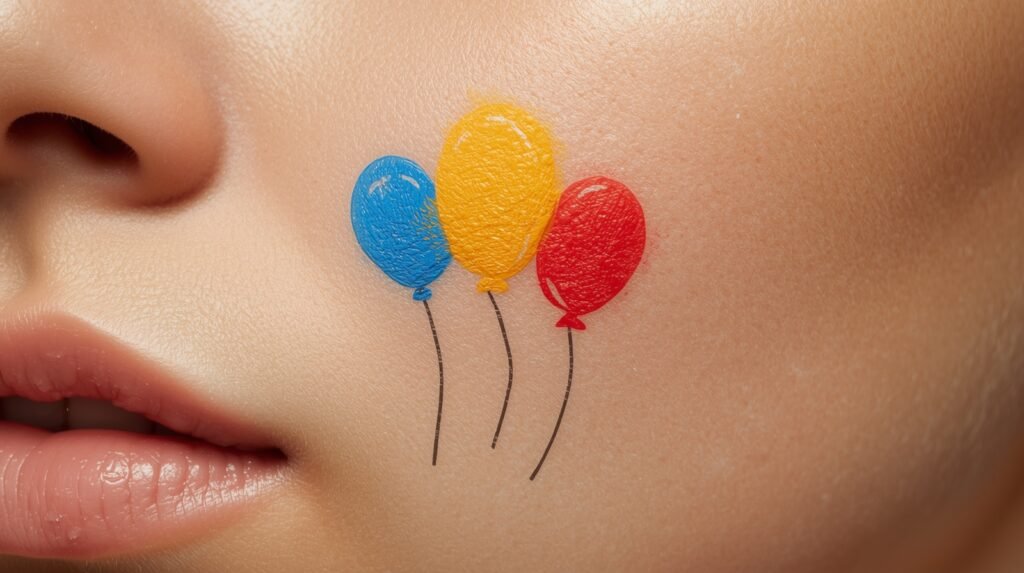
Use color contrast between balloons for readability.
12. Swirl and Dot Fantasy Pattern
Swirls are advanced in full designs but beginner-friendly in small scale. Use light pressure and continuous motion. Add dot chains along the swirl edge for decoration and balance.
This pattern adapts to any color theme.
Color Strategy for Cheek Designs
Beginner easy face painting ideas for cheeks succeed with controlled color use. Limit each design to two or three main colors plus white highlights. Too many colors reduce clarity at a small scale. For additional colorful pattern and design inspiration, you can explore Brenda Risquez’s embroidery artworks that creatively layer colors and shapes.
Use this color logic:
- Bright base color for the shape
- Darker tone for outline or edge
- White for highlights and dots
Contrasting colors make this more visible without being too complicated.
Common Beginner Mistakes and Corrections
Beginners often overload brushes. Excess paint causes pooling at stroke ends. Blot slightly before touching skin.
Another common mistake is outlining too early. Wait a few seconds after filling shapes. Damp underlayers cause outline bleeding.
Placement errors happen when designs sit too low near the jaw. Always check placement with the subject smiling cheeks shift upward.
Speed Workflow for Events and Parties
When using beginner easy face painting ideas for cheeks in real situations, workflow matters. Prepare color pairs in advance. Keep one rinse cup and one clean water cup to prevent muddy colors.
Use a design menu of six options. Repeating designs improves speed and consistency. Muscle memory reduces mistakes more than artistic effort.
A practiced cheek design should take under three minutes without rushing.
Skin Safety and Removal Basics
Use only cosmetic-grade paints. Avoid craft paints or markers. Test new paints on the inner wrist before use. Wash off with soap and warm water. It isn’t about aggressive scrubs; a gentler wash, done over and over again, is best.
Avoid painting on irritated or broken skin areas.
Practice Method That Builds Skill Fast
Practice beginner easy face painting ideas for cheeks on curved surfaces, like a balloon or an orange. Flat paper does not simulate cheek curvature. Curved practice improves brush angle control and paint pressure awareness. You can also learn more creative techniques to improve your face painting skills.
Repeat one design ten times in a row. Consistency training builds faster improvement than trying many different designs once.
Conclusion
Beginner easy face painting ideas for cheeks work best when designs match the surface size, use forgiving shapes, and follow a layered structure: base shape, fill, outline, accents. Small icons, curved motifs, and dot-based decorations consistently produce clean results for new painters.
Focus on brush control, paint consistency, and placement logic first. Design complexity can grow later. With structured practice and compact designs, cheek face painting becomes fast, reliable, and creatively flexible.